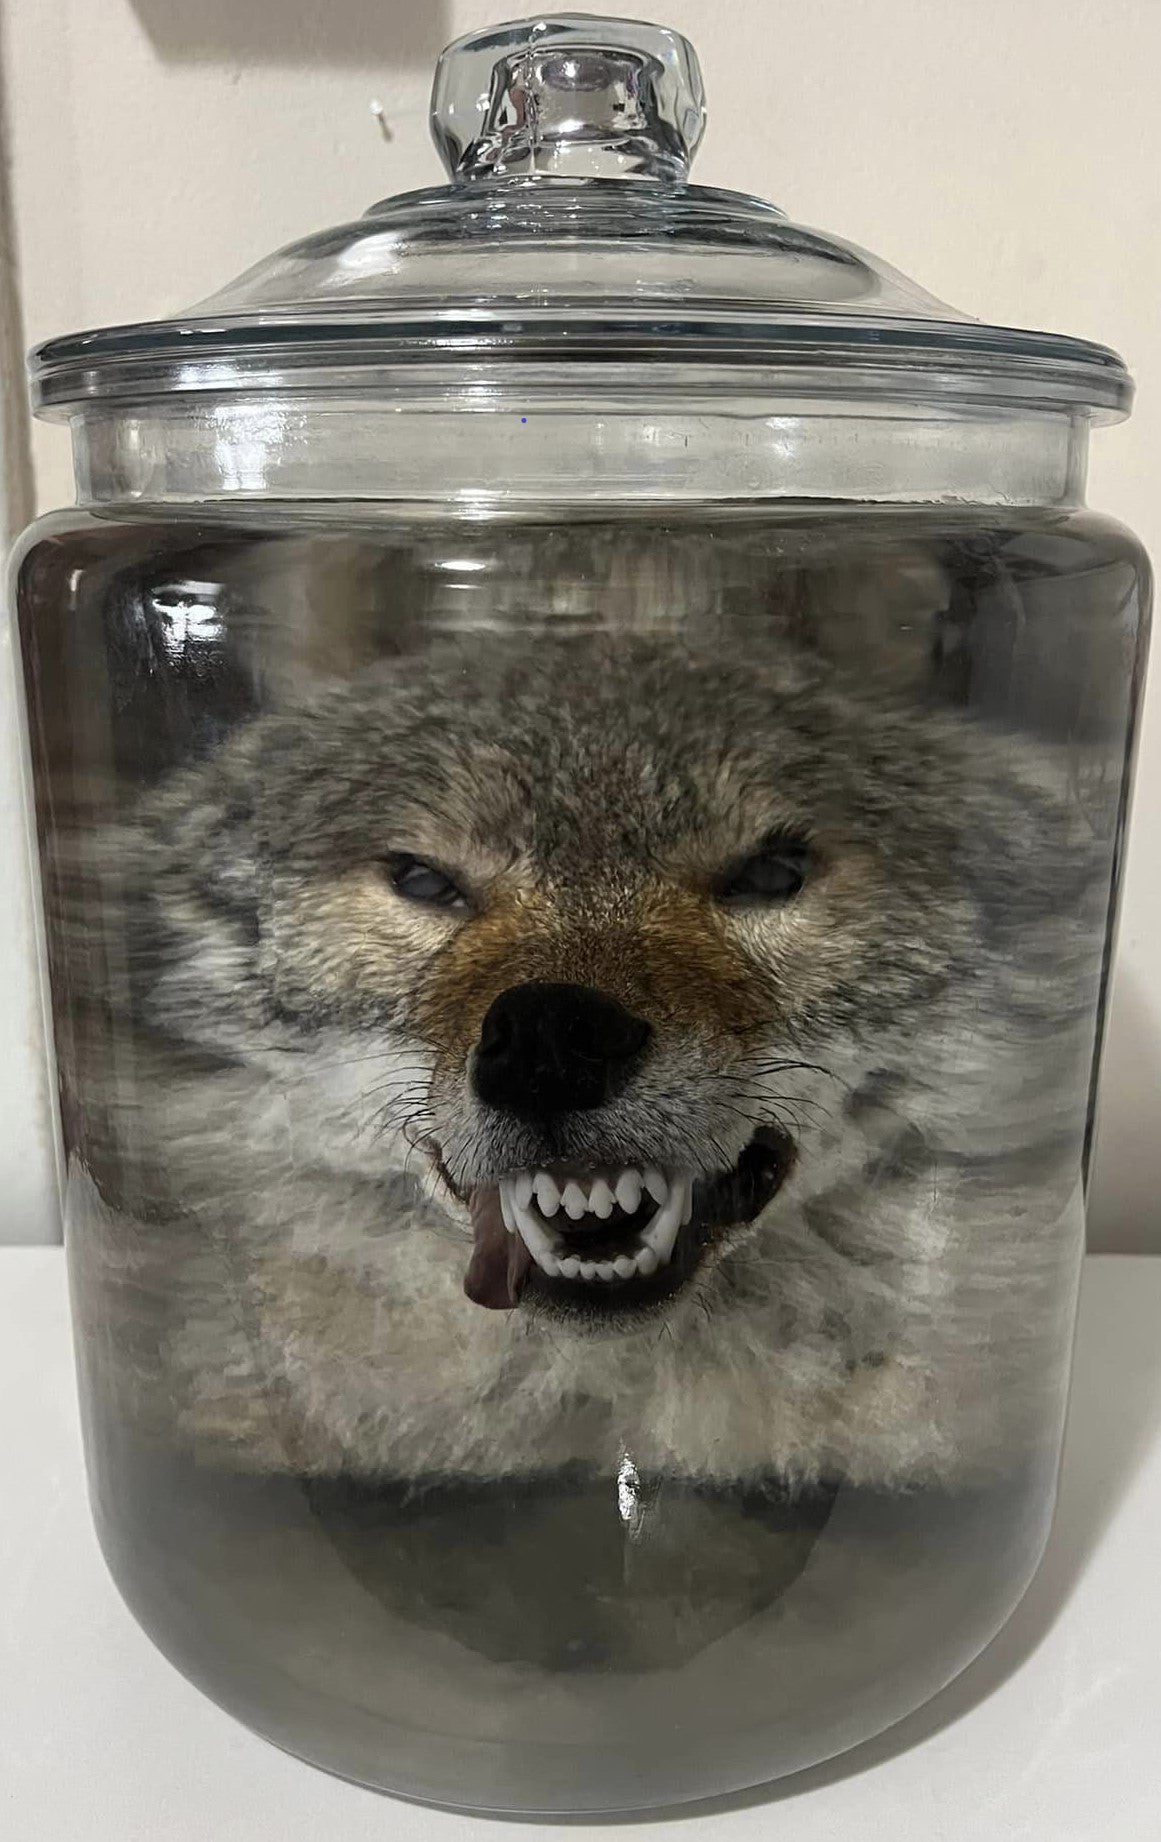
Wet Preserving a Specimen
Step 1: Safety Precautions
Begin by wearing PPE including gloves, a lab coat, and a properly fitted respirator (we prefer a 3M respirator with 6005 cartridges) in a well-ventilated space isolated from food areas. Confirm that the respirator snugly covers your nose and mouth without any gaps or slack in the straps.
Step 2: Acquiring the Specimen
Prioritize ethical considerations when obtaining specimens. Ensure that the animal has died of natural causes or that your source is legal, such as obtaining specimens from a reputable breeder.
Step 3: Initial Preparation
If the specimen is frozen, defrost it appropriately. Conduct a gentle preparation bath with Dawn or a mild detergent to eliminate any extraneous dirt or debris. Lay down puppy pads and organize supplies within easy reach to maintain efficiency and hygiene.
Step 4: Injection
Execute the injection process, ensuring all major muscles, organs, brain, throat, and rectum are thoroughly injected. Achieve a balanced result where the specimen feels firm to the touch, displaying a healthy plump appearance without being overly extended.
Step 5: Fixation
Prepare a preserving jar or container with the appropriate concentration of formalin solution. Immerse the animal specimen in the jar, ensuring complete submersion, and seal the lid tightly to prevent evaporation. Understand that the formalin soak aids in fixing and preserving outer tissues, complementing the internal injection process. The soak time needed will vary dependent on the size of the specimen.
Consider the penetration rate, expressed as d = K√t, where d is the depth of penetration, K is the coefficient of diffusion specific to each fixative (for 10% formalin, K = 0.78), and t is the time. This implies that the fixative penetrates around 1 mm per hour.
Refer to Medawar PB's study on the rate of penetration of fixatives for further insights.
Step 6: Leeching
Upon completing the formalin soak, wear appropriate PPE to remove the specimen. Rinse it thoroughly and submerge it in distilled water for 24-48 hours. This leeching process helps eliminate any excess formalin.
Step 7: Storage
Once leached, rinse the specimen again and transfer it to 70% isopropyl alcohol for long-term storage. Choose 70% isopropyl over 91% to prevent excessive drying, which can lead to specimen wrinkling and dehydration over time.
Step 8: Labeling (Optional)
Attach a detailed label to the jar or container. Include essential information such as the species name, date of preservation, and any additional details deemed relevant.
Step 9: Maintenance and Storage
Periodically check the specimen to ensure it remains submerged in the preservation solution. If evaporation occurs, add more preservation solution to cover the specimen adequately. Store the container in a cool, dry place, away from direct sunlight, to ensure the specimen's longevity.