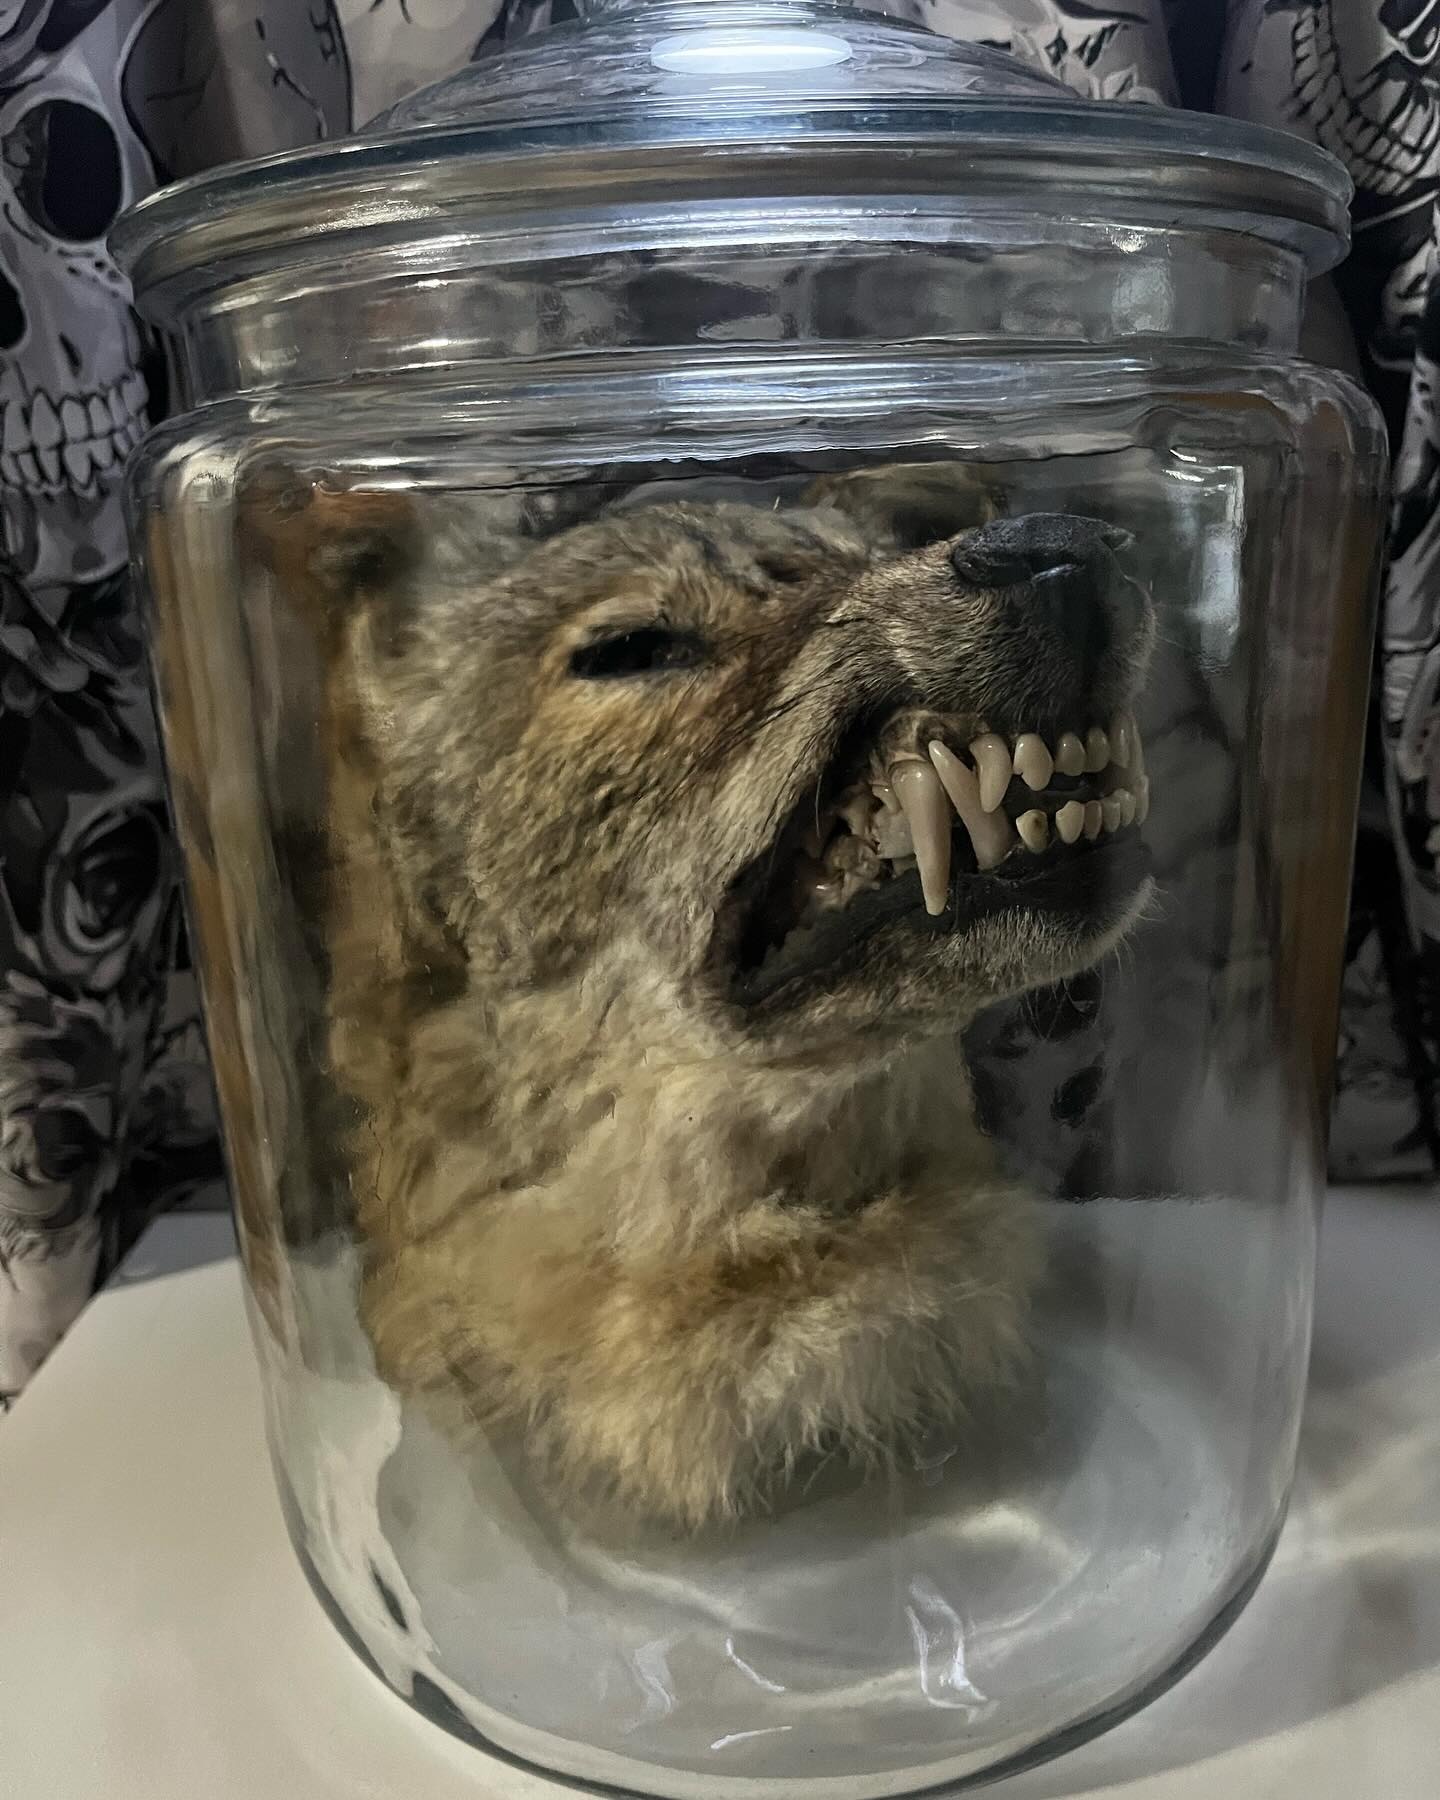
Formalin Mummies
By utilizing a 10% formaldehyde solution, tissues are fixed through protein cross-linking, effectively preventing decay and maintaining the specimen's integrity.
Materials Needed:
Protective Gear:
You will want to treat this the same as you would wet preservation.
Gloves: Heavy duty nitrile gloves are required, formalin can melt latex.
Safety goggles: A good pair of safety goggles is important in the case of accidental splashback.
Respirator: A respirator rated for formalin gas is required.
Plastic apron: An apron is important for accidental splashback as well.
Puppy pads: Puppy pads will absorb any spills or leakage, they should be disposed of with your formalin and leech water.
10% buffered formalin: For initial injection before mummification.
Syringes: For injection of the formalin.
Preservation:
Safety First: Prioritize personal safety by donning protective gear, including gloves, safety goggles, a respirator, and appropriate clothing.
Workspace Setup: Establish a well-ventilated work area, preferably with access to a fume hood or outdoor space to mitigate formaldehyde exposure.
Skinning and Fleshing: If preserving only the hide, carefully skin the animal using a sharp knife or scalpel, ensuring minimal damage to the skin.
For whole animals, remove all flesh, fat, and connective tissue to facilitate proper preservation.
Injection and Soaking in Formalin: Utilize a syringe to inject the 10% formalin solution into the body cavity and dense tissue areas, ensuring thorough penetration for effective preservation.
Immerse the specimen entirely in the formalin solution within a container, ensuring complete coverage for optimal preservation.
Allow the specimen to soak in the formalin solution for at least one week, with larger specimens potentially requiring extended soaking periods for comprehensive preservation.
Leeching and Initial Drying: Following the soaking period, leech specimen in distilled water for 24-48 hours to eliminate excess formalin solution.
Allow the rinsed specimen to air dry in a well-ventilated area, facilitating the evaporation of residual formalin.
Positioning the Specimen: Securely position the specimen on a mounting board (cardboard or styrofoam), ensuring the desired pose or shape is maintained throughout the preservation process.
Utilize pins to maintain the specimen's intended shape and form, particularly crucial for preserving anatomical accuracy.
Final Drying: Place the mounted specimen in a cool, dry, and well-ventilated space, shielding it from direct sunlight to prevent damage.
Exercise patience as the specimen undergoes the final drying phase, periodically monitoring its progress to ensure proper preservation.
Off-Gassing and Display Considerations: After drying, allow the specimen to off-gas in a well-ventilated area for several weeks to mitigate formaldehyde vapor emissions.
When displaying preserved specimens, ensure they are housed in sealed containers to prevent further off-gassing and maintain preservation integrity.
While off-gassing periods can vary, there is currently no definitive timeline for complete off-gassing, necessitating ongoing monitoring and precautionary measures.
Tips for Successful Preservation:
Employ fresh and properly mixed formalin solution to maximize preservation effectiveness.
Prioritize work in well-ventilated environments to minimize formaldehyde exposure risks.
Adhere to local regulations for safe disposal of used formalin solution, recognizing its hazardous nature.
Exercise patience during the drying process, as complete drying may necessitate several weeks to prevent mold or mildew formation.