Silica Beads for Dry Preserving
Using silica beads for dry preserving animals is an effective method, particularly for small animals or parts of animals. Silica beads, or silica gel, are desiccants that absorb moisture and help in the drying process.
Materials Needed:
Gloves: To protect your hands from bacteria and chemicals.
Sharp knife or scalpel: For skinning and fleshing the specimen.
Silica Beads: Used to draw out moisture.
91% isopropyl alcohol: For disinfecting and accelerating the drying process.
Container or tray: To hold the specimen during drying.
Syringe: For injecting alcohol into dense tissue areas.
Pins: For positioning the specimen.
Cardboard or styrofoam: For mounting the specimen during drying.
Tweezers (optional): For delicate work that requires more accuracy.
Preparation
Always wear gloves to protect yourself from bacteria and chemicals and choose a well-ventilated, clean space to work in.
Skinning the Animal (If Preserving the Hide)
Using a sharp knife or scalpel, carefully skin the animal if you are preserving only the hide. Take care not to puncture or tear the skin. For whole small animals, you can skip this step.
Use the knife or a scraper to carefully remove all flesh, fat, and connective tissue from the hide. For whole animals, make an incision and remove as much internal tissue and organs as possible.
Soaking in Isopropyl Alcohol
For whole animals, use a syringe to inject 91% isopropyl alcohol into the body cavity and other dense tissue areas. This ensures thorough penetration and accelerates drying.
Submerge the hide or small animal in 91% isopropyl alcohol for 24-48 hours. This step disinfects the specimen and begins the drying process.
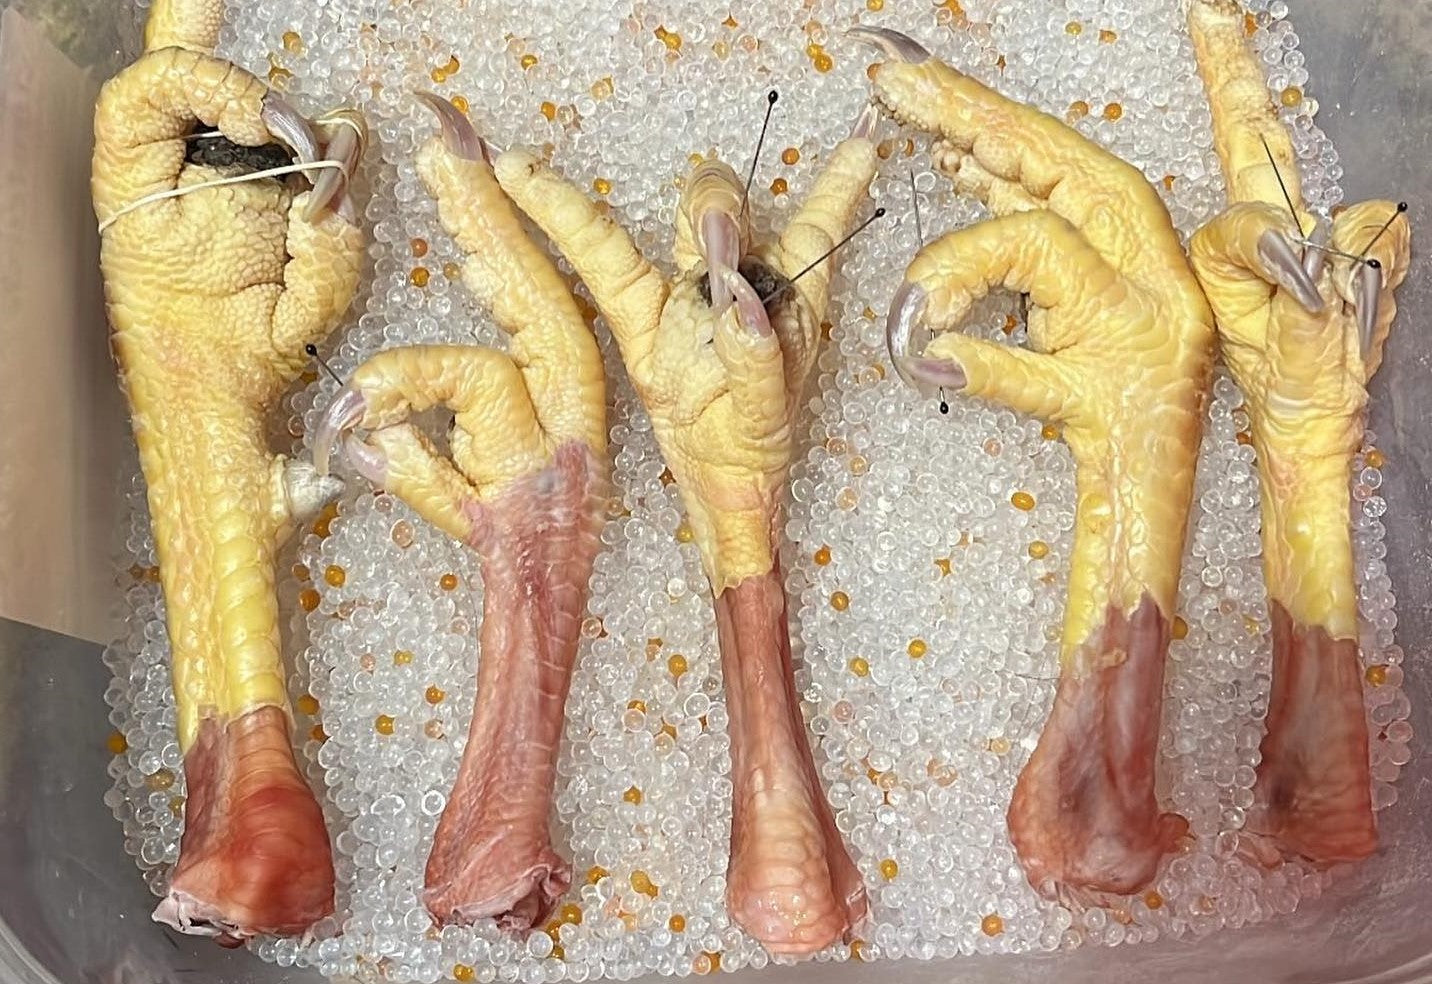
Positioning the Specimen
Place the hide or animal on apiece of cardboard or styrofoam. For hides, stretch it out and pin it in place to maintain its shape. For whole animals, pose them as desired and use pins to secure them in place.
Preparing the Silica Beads
Place silica beads in small mesh bags, or directly use them if the container is suitable.
In the container or tray, create a layer of silica beads at the bottom.
Placing the Specimen in the Container
Place the specimen on top of the silica bead layer.
Gently cover the specimen with more silica beads, ensuring that it is completely surrounded and covered. Ensure the beads get into all crevices and folds.
Sealing and Waiting
Close the container with a tight-fitting lid to ensure no moisture can enter.
Place the sealed container in a cool, dry place. Leave the specimen in the container for several weeks. The time required depends on the size and moisture content of the specimen.
Checking the Specimen
Periodically check the specimen to ensure it is drying properly. If the silica beads become saturated (they often change color when saturated), replace them with fresh beads.
Ensure the specimen is completely dry before removing it from the silica beads. This may take several weeks.
Final Steps
Carefully remove the specimen from the silica beads.
Gently brush off any silica beads sticking to the specimen. Use tweezers if necessary.
Place the specimen in a well-ventilated area for a final drying period, if necessary, to ensure any remaining moisture evaporates.
Tips for Successful Preservation
Use Indicator Silica Beads: Silica beads with moisture
indicators (typically changing color when saturated) can help you monitor when to replace them.
Patience is Key: Thorough drying can take several weeks, so be patient.
Storage: Store the dried specimen in a dry, cool place to maintain its condition.
Avoid Moisture: Ensure that the specimen is kept away
from any sources of moisture to prevent mold or mildew.